Darkroom – David Rendle
It’s been ten years since I have worked out of my own darkroom. The ten years has involved three house moves and a long, personal story.
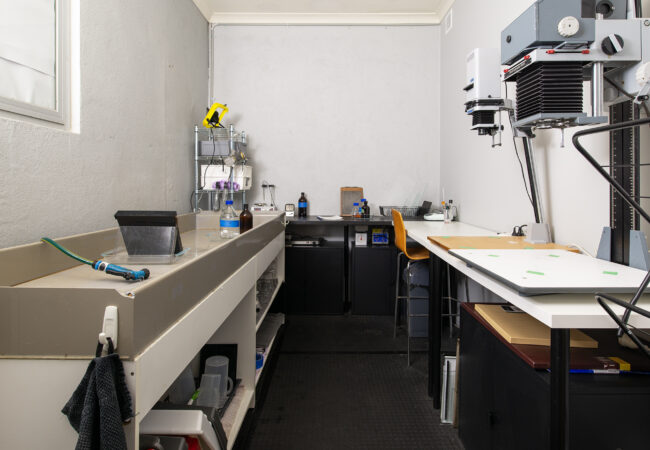
My newly built darkroom is within a 9m x 4m freestanding steel shed in the rear corner of our residential property. The steel framework and side door location dictated the darkroom space to be 4m x 3m. Rather than having a room that will need demolishing upon departure, the darkroom has been built as a re-sale asset, such as an art/music studio or teenager refuse/bedroom (Image 1).

The darkroom features include:
*insulated plaster walls and ceiling
*air conditioning, running water & sewered wastewater
*1240mm wide double door
*2 x 2 daylight globes with independent ceiling pull switches (& master switch)
*3 x 3 safelight globes with independent ceiling switches (& master switch)
*The safe lights above the wet bench activate the extraction fan
*light safe ventilation duct
*2.8m x 0.7m built wet bench with two custom perspecs sinks (80mm deep)
*enlarging bench
*mobile print drying shelves
*5 drawer paper & equipment cabinet
Many processes and challenges during the build remain fresh in the mind, and this article aims at discussing some of them for the benefit of others obsessed with analogue photography. Or perhaps is this a warning to others??
The darkroom began with the installation of the whirly-bird vent in the roof, and then later sisalation wrap. Being steel shed with large temperature fluctuations, safeguarding against condensation was important. It’s not just to protect the plaster, but also perhaps the photographer against black mould (Image 2).

Acid washing the floor slab prior to 3 coats of concrete sealing paint annoyingly revealed that all spills would drain to the furthest corner from any door.
Only the partitioning wall is a timber stud construction, mainly due to the 2022 timber shortage crisis (Image 3). Steel furring channel was used to build the perimeter sidewalls and roof rafters. Avoiding timber actually proved to be an efficient use of wall cavity space to maximize the darkroom internal working area. At the time I was very mindful that it was going to be a tight squeeze to fit the existing 2.83m wet bench. All furring channels needed to be spaced out to allow sufficient space for thick high-performance insulation batts (Image 4). The preliminary fit out of electrical wiring and plumbing occurred as soon as the walls and roof was constructed (Image 5).


The project would often present challenges and obstacles for the DIY darkroom builder. Whenever I needed timeout to think a challenge through, there was always the 25 metres of water supply trenching that needed hand digging for the water supply.
Hanging the double door sounds simple enough, but it proved to expose my deficient carpentry skills. Inheriting a home built work shed with every surface, wall, and steel element being non-vertical and out of square meant that the ‘trial and error’ approach prevailed. Containing the darkness within the darkroom was also a learning experience. Once the door was swinging perfectly, the door jams were initially lined with specialise soft silicone seams. However, the slightest movement within the hinges allowed the doors to push closer to each other and prevent the door from closing. In the end the best solution was to remove the seals and use timber quad strips, which provided an additional light-trapping bend against the door jam. Matt black paint within the door jams also make a notable difference.
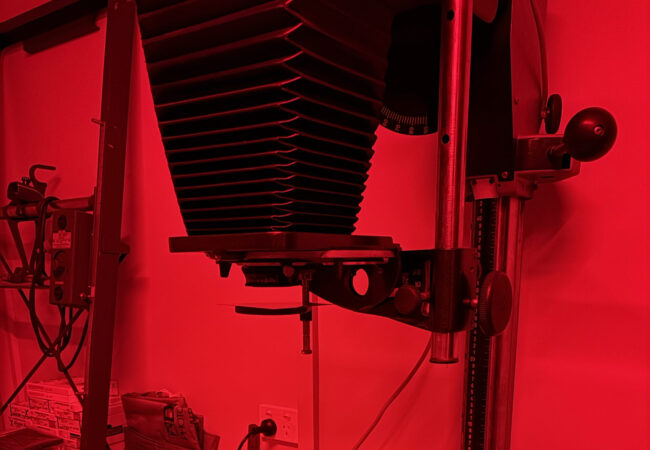
My photographic equipment is a collection from both my previous darkroom days and acquisitions from my “Obi-wan Kenobi” mentor, Brian Murray. I use a Jobo motorised developing system for all my film (mainly 120mm roll film and 4″x5″ sheets (Images 6 & 7). The Durst Laborator 1200 is used for enlarging 4″x5″ negatives and a Simmon Omega is dedicated to medium format enlarging (Image 8). The Nova 3-slot print processor is a welcomed space saver when the wet bench area is limiting.


I feel that the 3m x 4m darkroom space is well managed and far from feeling congested. Working in my darkroom is particularly enjoyable at the moment because it’s still got that “fresh car” feel to it and the memories of construction are also fresh.


