
The Minder. Silver gelatin photograph. Three years ago, almost to…
Darkroom – Gary Chapman
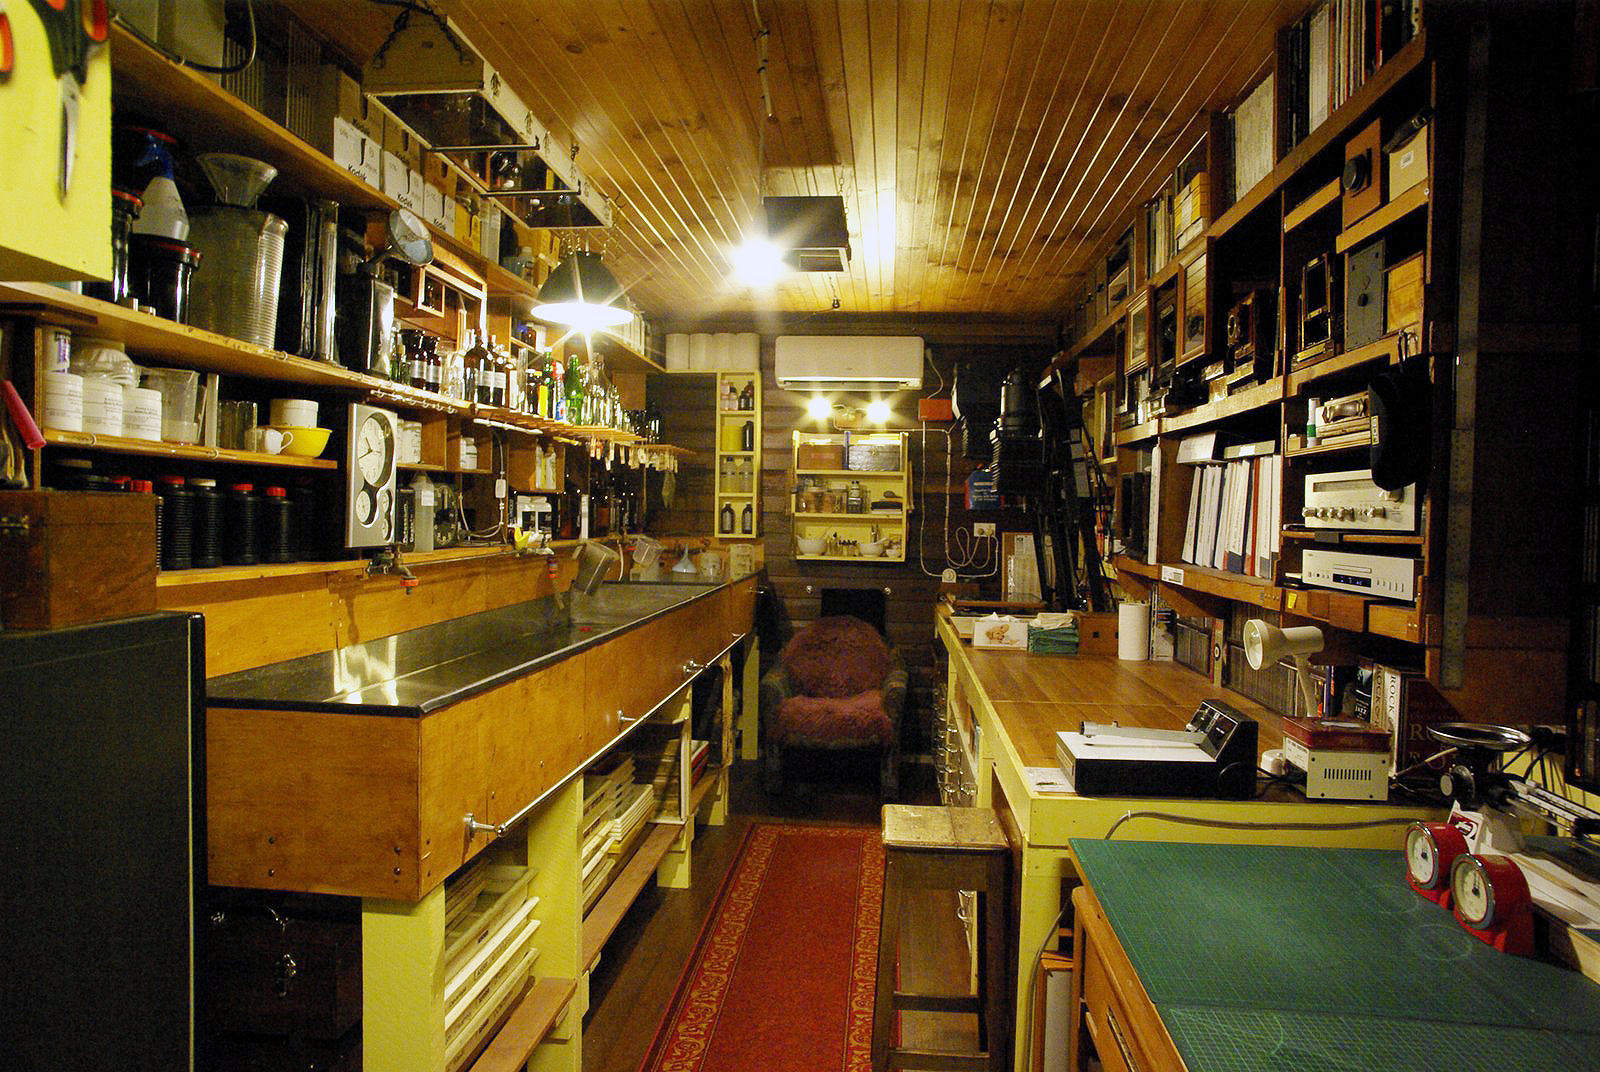
My final darkroom, built within the garage space is 5.4 m long by 2.7 m wide with a ceiling height of 2.6 m. It’s a classic layout, dry one side and wet the other.
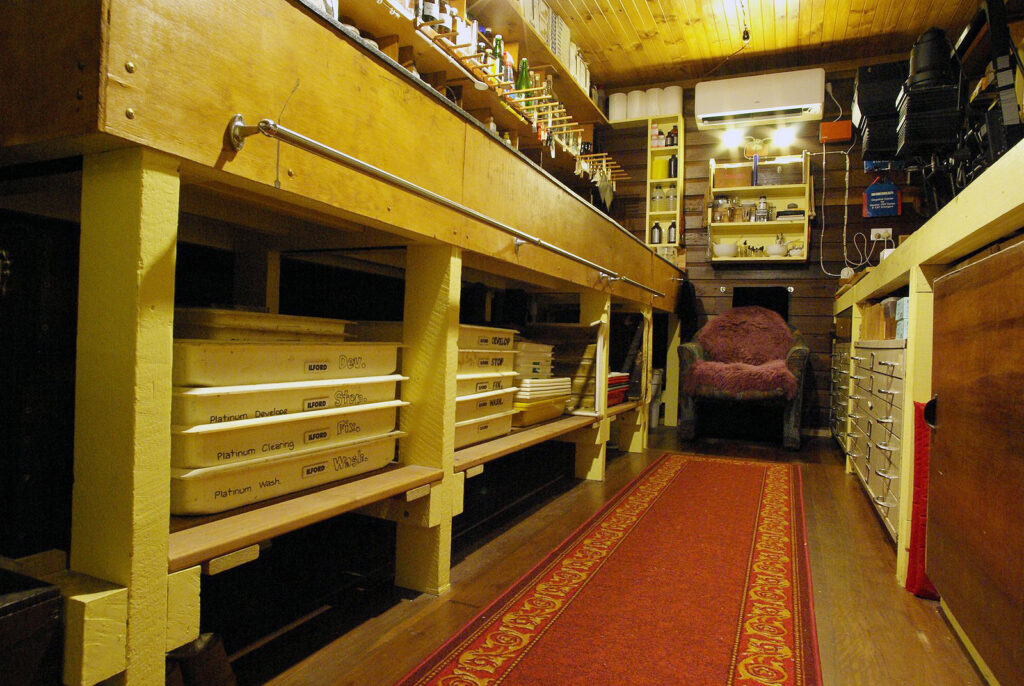
The wet side has a 4.2 m long by 0.9 m wide sink made of stainless steel that allows me to comfortably process prints up to 20 x 24 in trays. The sink also allows plenty of room for wet plate processing.
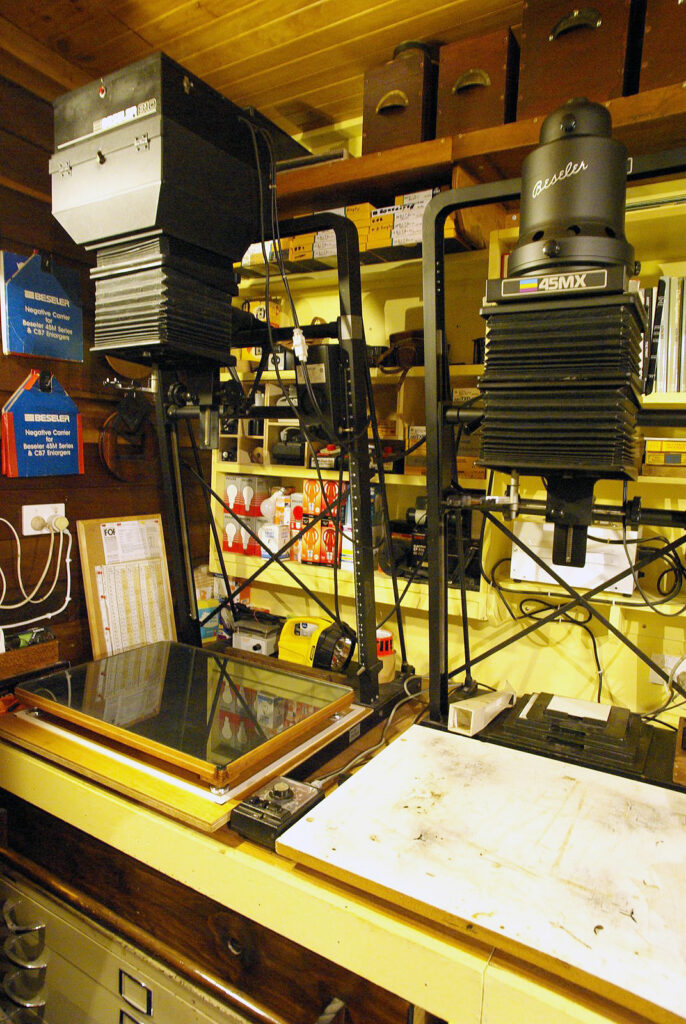
There are two Beseler enlargers: a 4×5 bought new more than 30 years ago, it has a condenser head and gel filters for contrast control and uses a 135 mm lens. The 8×10 enlarger I purchased from the USA has a cold light head. I use a 240 mm enlarging lens that allows me to print up to 20 x 24 prints on the baseboard.
The ultraviolet light box I built from an old pine table that had a suitable base. An electrician installed sixteen 900 mm BL tubes, the size that allows me to print 16 x 20 alternative process prints using contact frames. The alternative processes that interest me are: Palladium and Van Dyke Brown. A typical exposure for my work under this ultraviolet light box is 30 seconds to four minutes, depending on whether using glass or film negatives.
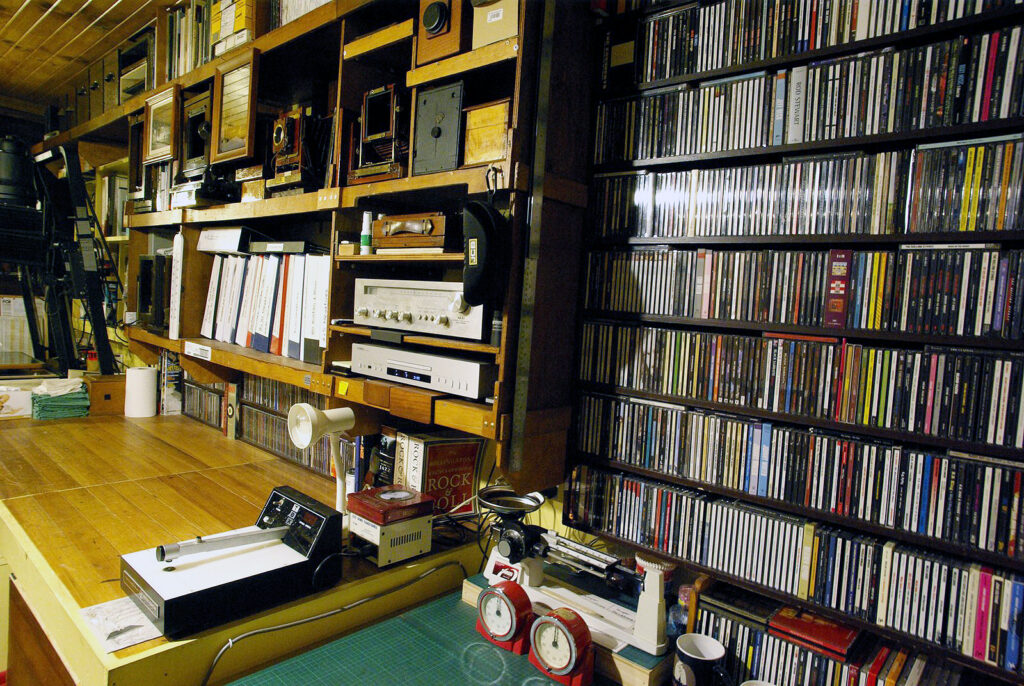
I find working in the darkroom and listening to music to be very relaxing in my personal space.


Gary Chapman’s The Photograph Considered can be seen here.
Gary Chapman and his 16 x 20 camera, a photo essay by Janet Naismith can be seen here.
Previous Post: Worldwide Day of Pinhole Photography 30 April 2023


Thank you, Gary, for the images of your darkroom. Maybe in another post you can give us a closer look at your UV printer (and maybe a few of processing and printing a ULF negative). BTW, do you develop your ULF in trays? Long live 16×20 (as well as all the other formats). I have a Wisner 11×14 Technical Field (smaller cousin to your 16×20) and I appreciate the mostly straightforward design (although have yet to find a need to use the geared rear tilt) as it gets the job done simply and directly.
Also, nice to see you have an 8×10 enlarger (as much as I like 8×10 contact prints, enlargements are fine, too).
Carl
Thank you for your comments, I always tray develop my UFL negatives one sheet at a time, I have always used this method, so far I have constant results.
I have found the Wisner cameras very easy to use. Once you have positioned the 16×20 camera on the tripod as you have found the job is simple and direct.