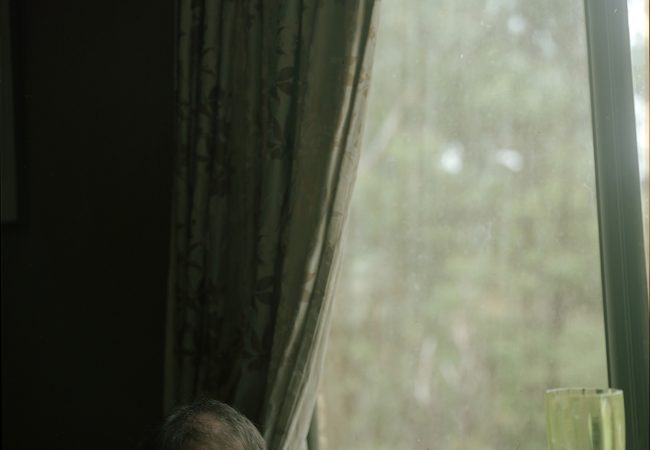
Brother, 2019. From the series All the things unsaid. Although…

The Photograph Considered number fifty – James Niven
I was familiar with this area having seen images on the Internet. I was inspired by the images of Phillip Island’s natural beauty and wild rugged coastline. For an island that covers just fifty-seven hectares, it has a lot to offer both photographers and day-trippers. So although not unique for many photographers and visitors, it was an area I hadn’t been to so was unique for me.
It was a place where I also had two previous attempts to photograph in the winter of 2020 and 2021, but the weather was not kind to me on both those occasions with driving rain, wind and an unfavorable tide and swell to deal with. If I had been on the trip for the soul purpose of photographing this area then, I would have been disheartened having driven 1000 km down from Sydney, but it was just a small part of my one month 4wd trip so I had plenty more places to see.
Perseverance and patience are two traits needed whilst photographing landscapes and seascapes I think even more so with a large format camera. Using my 4 x 5 view camera forces me to slow down and think more about my composition under the dark cloth. The upside down and back to front image doesn’t bother me at all now as I see the scene in front of me more about lines and shapes and how to best compose for a more aesthetically pleasing balance to my composition.
In the winter of 2022 I revisited Wilsons Promontory National Park and decided to also head across to the Great Ocean Road and the Otway Ranges, an area I had seen many years ago, but never with my large format camera, so I thought I would try my luck with Phillip Island again on the way through. This time all the elements seemed to line up in my favour.
There was just little patches of rain but nothing to worry about, light wind and most importantly, the tide was on it’s way out to it’s lowest point at around sunset.
I’m normally driving to or walking to an area the day or so before, scoping out possible compositions with my View Finder in hand seeing what focal length lens is best suited to me. I also have an App on my phone which let’s me know of where the sun rises and sets, this helps in my decision making process. Time is of the essence whilst shooting at sunrise, so knowing where to set up and what lens to put on the camera when it is dark, helps me immensely.
When I arrived at the car park to walk out to Cape Woolamai on this particular sunny day, I had all intensions to get my shot at sunset rather than my usual sunrise preference, as I knew how fickle the area could be at least from my previous experiences. It was a luxury for me to have so much time on my hands. I grabbed my tripod, checked my camera bag thoroughly to make sure I had all my necessary accessories such as the dark
cloth, loupe, shutter release cable, light meter, small torch Light (for placing in front of me so I can focus on the foreground when it gets too difficult to focus as the light fades) and also my head torch for hands free operation around the camera and when travelling to and from locations, reading glasses (an unfortunate but necessary addition that comes with age) lens wipes for the potential salt spray, Lee filters and adapter.
I pondered over what lenses to take and decided on just the wide angle lenses I had in the kit which included my 75mm, 90mm and the 125mm. In a perfect scenario I like to take black and white as well as colour film which has been loaded into 4 x 5 film holders the previous night in my film changing tent, this serves me as my mobile darkroom. Anyway I took a few of each as I never know what type of film I will actually shoot until I set up and see and feel the scene in front of me.
I felt exhilarated and so alive whilst standing there amongst the boulders on the beach. The scene that was in front of me was awe-inspiring and although familiar with having seen images on the Internet, was so fresh and new at the same time. I immediately was drawn to the waves crashing out to sea about 50 to 100 metres in front of me and then the surge of white wash that ensued. The large boulders acting like a defence mechanism, slowing down this surging wall of whitewash as it made its final brief resting place up on the shoreline. I made a mental note of not wanting to come back here on a large swell! I dropped my gear at a safe distance and took my view finder (a make shift rectangular cardboard piece with a 4 x 5 insert cut out with a piece of string with notches at my most used lens focal lengths which I place the notches on the string to my cheek, then view through the cut out to compose my shot. Works great in landscape or portrait format)
With still so much time up my sleeve, I stood on different boulders, trying to get as close to the shoreline, but making sure that I accounted for the rogue waves that would eventually roll in and potentially cause havoc to my set up.
When I was finally satisfied with the location and composition, I went and grabbed my gear and set up the tripod and 4 x 5 Chamonix 45F2 camera. It was a no brainer on the Lens choice. The 75mm was going on the camera as it provided me enough space to feel like the composition was not going to be too cramped. I decided against front lens tilt for sharp focus from foreground to background as I didn’t want the possibility of the top of the rock pinnacles to be slightly soft and out of focus with the effect which can occur by the angle projected by the tilt shift in depth of field plane of focus if you for instance have obstacles such as tall straight images in your scene eg top of trees, buildings etc. With the wide angle 75mm and being a fair distance away, it should have been okay, but instead I had all camera movements and positions zeroed out and leveled first, then I focused on a foreground boulder a few feet in front of me on the ground glass with my loupe, read the distance measurement on my scale on the side of the camera rail, then focused on the distant rock formations, read the scale and then set the focus of the camera positioned half way along the two readings recorded on the rail. I then stopped down to the maximum f45 aperture on the lens so that everything in between fell into acceptable sharpness.
Instead of incident or Zone System metering, this time I went for a spot meter reading that required me to meter the highlights in my scene that recorded some detail without being blown out (part of sky) save it to the meter, and then spot meter read a shadow area in the scene that contained some detail in, saved it and averaged the two readings to take my exposure.
I first placed Ektar 100 colour negative film in the back of the camera, but a short time later changed to Delta 100 black and white film. The mood and eerie feeling along with the predominantly grey tones of the scene dictated my decision. I took a total of 4 shots of Delta 100 all in the same location, but at separate intervals to see what looked best with the change in fading light and the intriguing whitewash formations in the foreground. I ended up not using any filtration on the lens at all. I stayed until after dark, putting in transparency film in case of some interesting light at dusk that the film can pick up with longer exposures, but there was no colour of any significance, so I eventually packed up, put on my head torch and then walking out felt a great feeling of satisfaction that I had finally been to this location and I was happy with my composition and film choice.
Of course you never know if you got your shot until you get the film developed. I eventually got home a few weeks later and developed my Black and White negatives in Pyrocat HD. First pre soaking the film in Distilled water at 20 deg celcius for 5 minutes, then using a semi stand development time of around 22 minutes with three 20-30 sec agitations in between. There’s many conflicting views about whether to pre soak your film or not, but I don’t like to change my routine and it works for me. Then three 30 sec Distilled water stop Bath washes and then fixing in TF2 (Alkaline Sodium Thiosulfate Fixer) for 3 to 5 minutes depending on how exhausted the fixer is. I like using Pyrocat for it’s compensating characteristics in particular of containing the highlights in the image, it’s high acutance, shadow detail obtained, shelf life and cost savings to name a few points. I make up my solutions from scratch by ordering and getting the chemicals shipped from Gold Street Studios.
To date, I haven’t printed this image yet. But I have all intentions to and will be looking at an A2 size print on a cotton rag archival paper with my Epson P906/P900 printer.


