Red Brick Wall. Launceston My history with photography began as…
Darkroom – Murray White
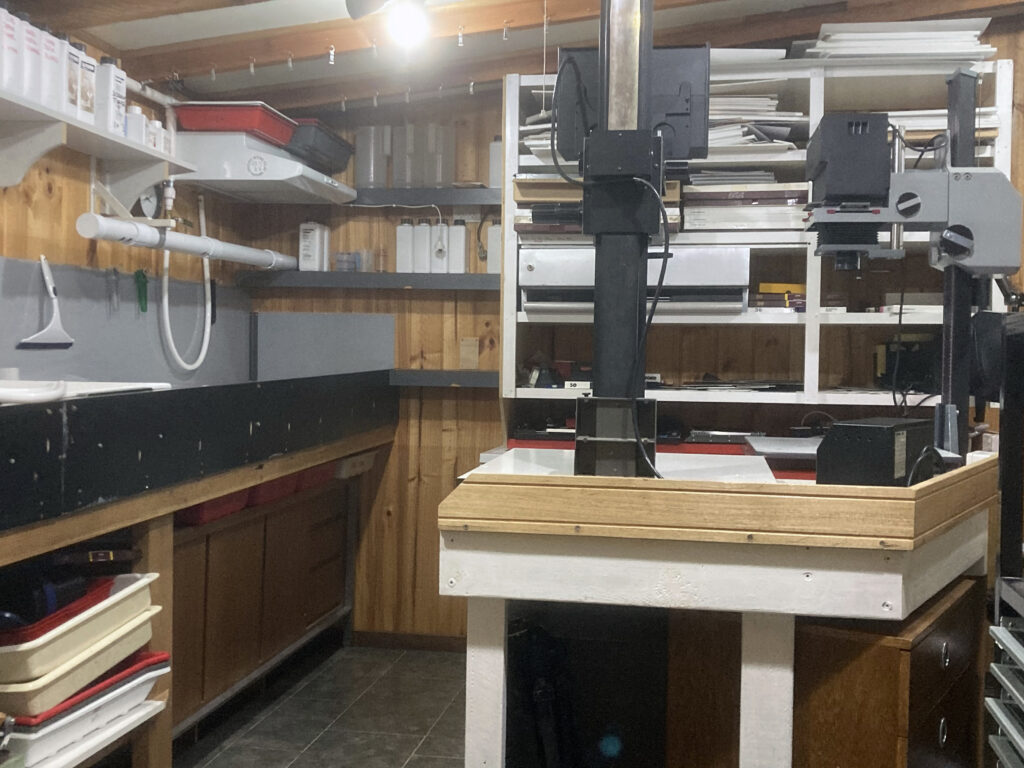
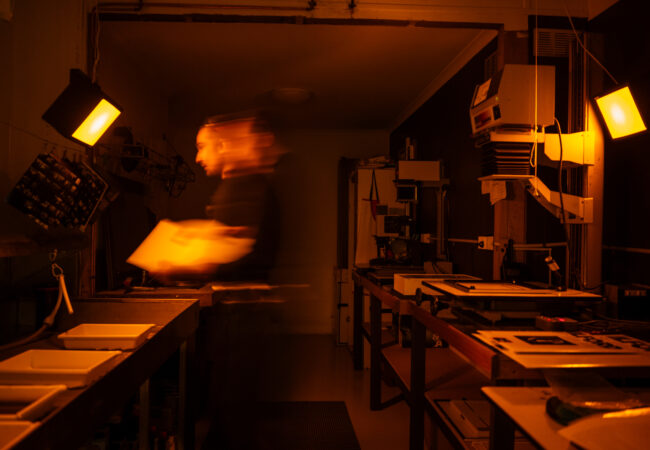
As an owner builder 27 years ago, my idea of the perfect darkroom was an area 1.6 metres x 2.6 metres; big enough to process E6 transparencies and make the occasional 8×10 cibachrome print. Fortunately I constructed this room within a 4.2 metre X 7 metre bungalow that we lived in while I built our house. Fast forward to 2019 and my newly acquired love for black & white, which saw the entire bungalow dedicated as a shrine to darkroom practices: an eight fold increase in floor area that has already breached its functional limits! (More on that later)
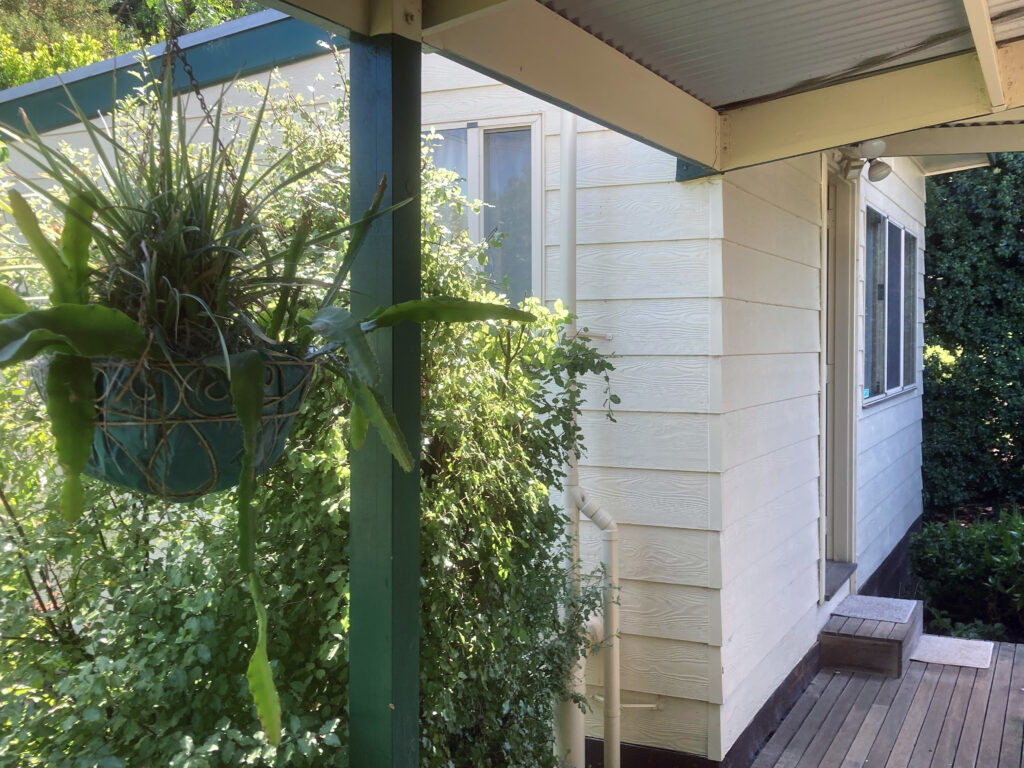
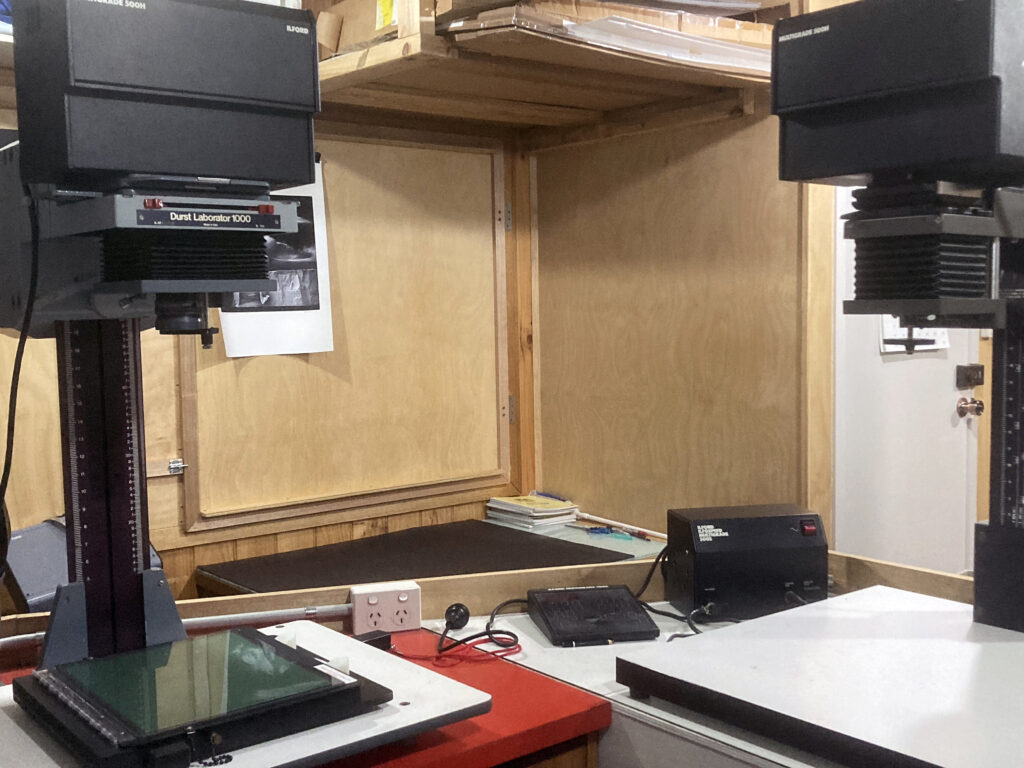
The front door opens into a dust / air lock with separate toilet and hand basin. From there a lightproof internal door leads into the main room, with another lightproof door opening on the left into the original darkroom. Lighting in the small room has separate switches for room or safelight, but the main room has a master switch near the door, and a pull switch central to both enlargers. A single action of this switch toggles between room lights and safelights.
The plumbing is a little unorthodox, even for our regional setting. We have an onsite waste water treatment system, and although town water runs past the property, we chose to install a 120,000 litre rainwater tank instead. It sounds like a lot of water, but with a big garden and increasing uncertainty around rain events, I had to improvise in the darkroom.
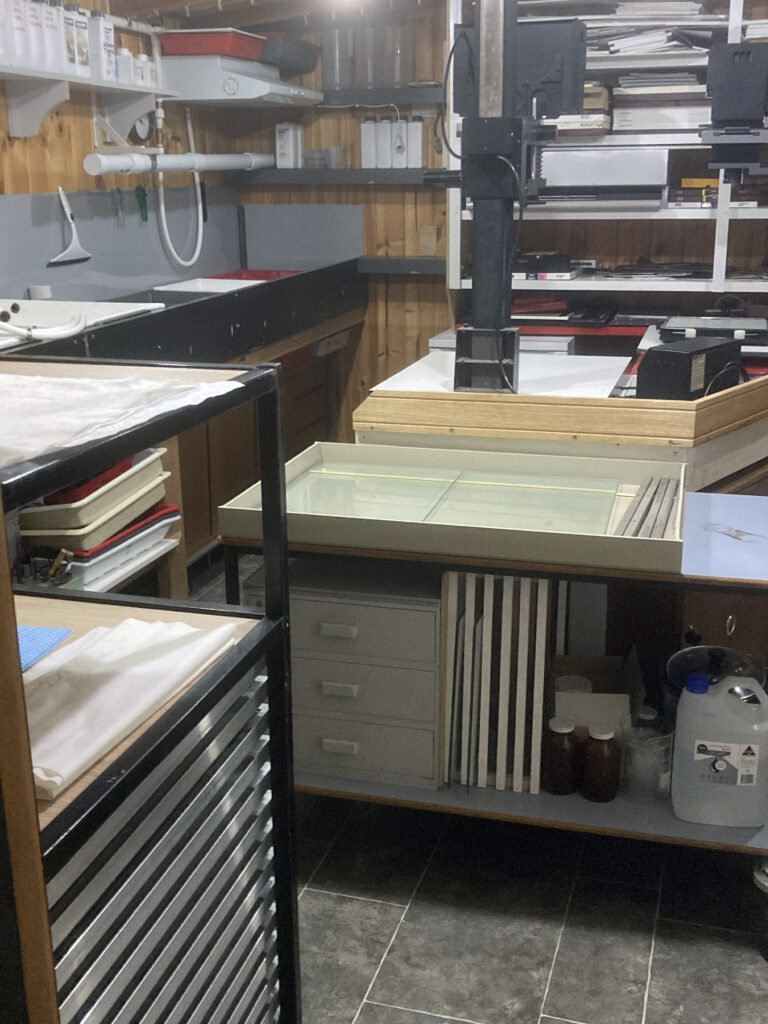
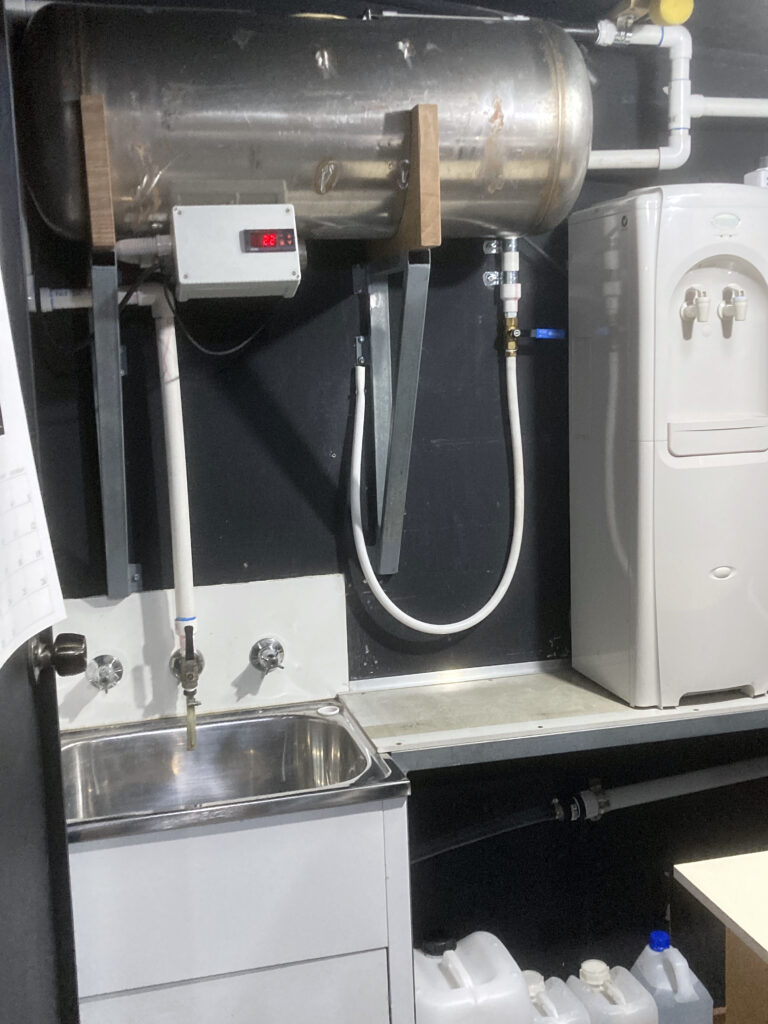
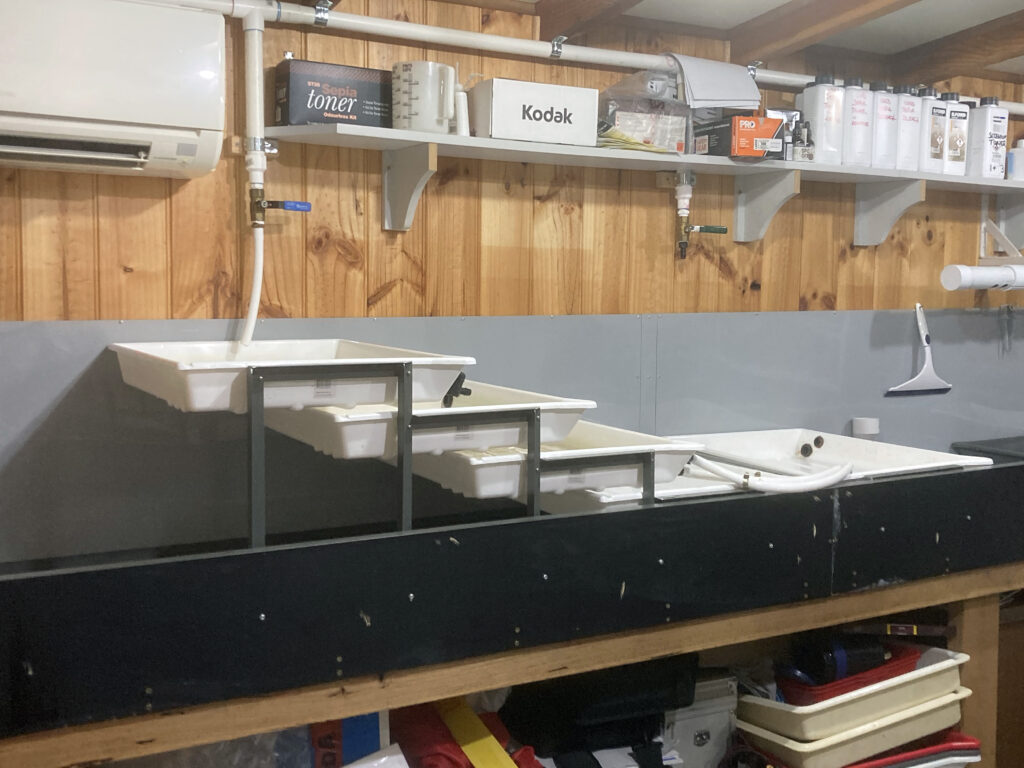
My wash is a cascading sequence of 16×20 trays, fitted with regulating valves and with an Ilford Wash Aid bath located just after the first wash. Water supply to the darkroom (in fact the entire house) is gravity fed from a header tank via dual filters near the lift pump and a final filter at a trough in the small room. I built a 90 litre low temperature hot water service from an out of date stainless steel automotive gas tank, and fitted it with control gear to regulate the incoming water to its usual set point of 21 degrees. A refrigerated water cooler is on hand if the incoming tank water is warmer than that, and I usually run the split system A/C to hold the room to 20 degrees.
Ventilation in the darkroom is via two lengths of perforated PVC pipe running each side of the sink area. One length has an extraction fan attached outside, and the other has a lightproof filter box. When running, a curtain of air drifts across the processing trays, taking with it any chemical fumes. I also use a rangehood to supplement the extraction if needed, usually only when toning. On cool days with little wind, I swing back the internal window block out shutters, and let the darkroom breathe through an open window.
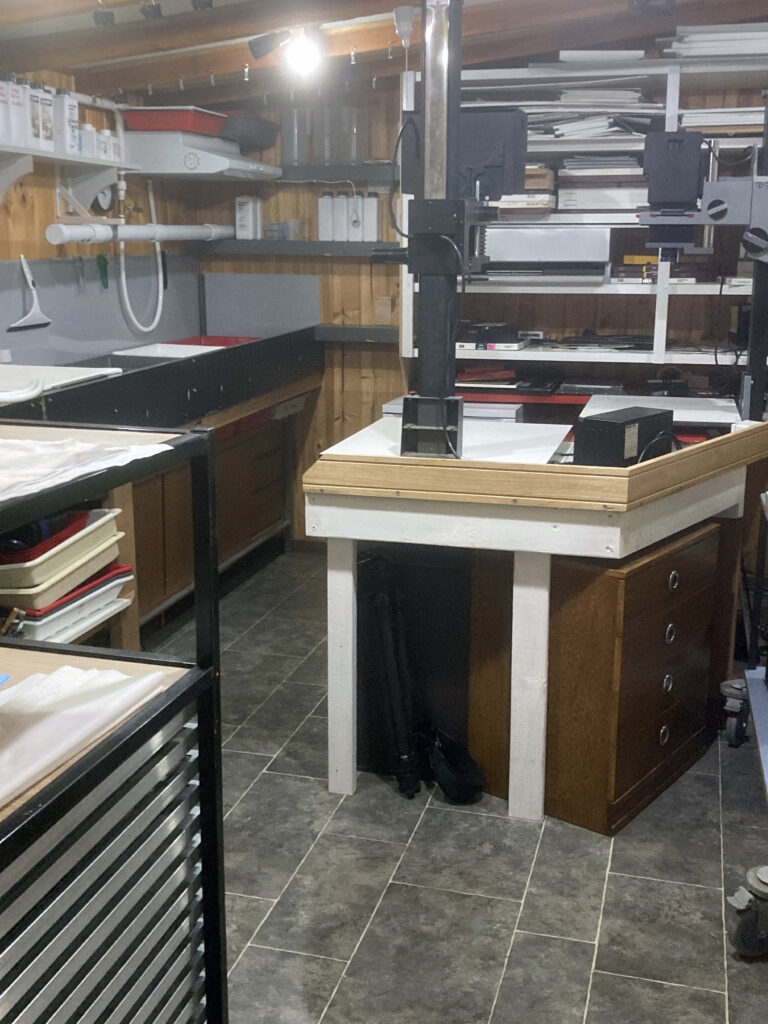
The two sinks are homemade from two 2.4 metre X 1.2 metre sheets of PVC, siliconed and screwed through aluminium angle into timber formwork. This gives me an area suitable for four 12×16 trays or three 16×20 trays on each side. I can remove the cascading wash trays easily if I need extra room. Wash water drains under our house and is effectively filtered by almost one acre of trees and garden, sloping to the rear of our block. Used chemistry is collected for disposal at our recycle centre.
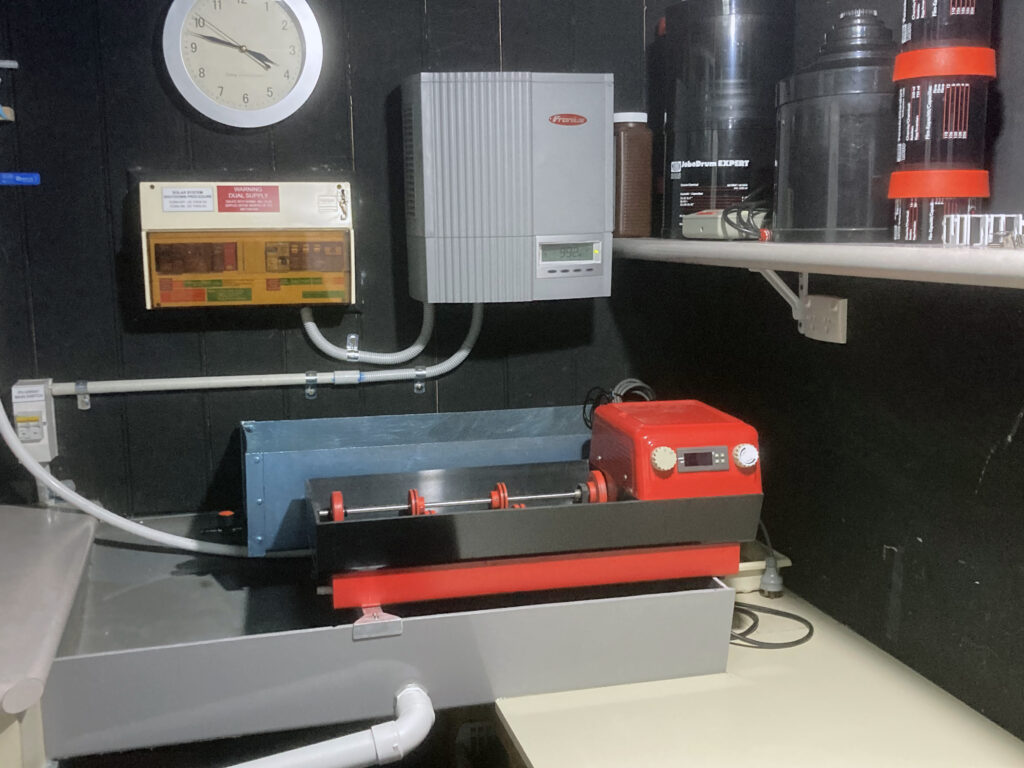
Workflow is basically film loading and film processing in the small room 120, 4×5, 8×10, and occasionally 11×14 from a homemade camera. Jobo processing drums on a Stark roller processor work well for me, and I have a homemade tempering bath from my E6 days that I use to keep the chemistry at a constant temperature if the air conditioner hasnít yet brought the room to a stable temperature.
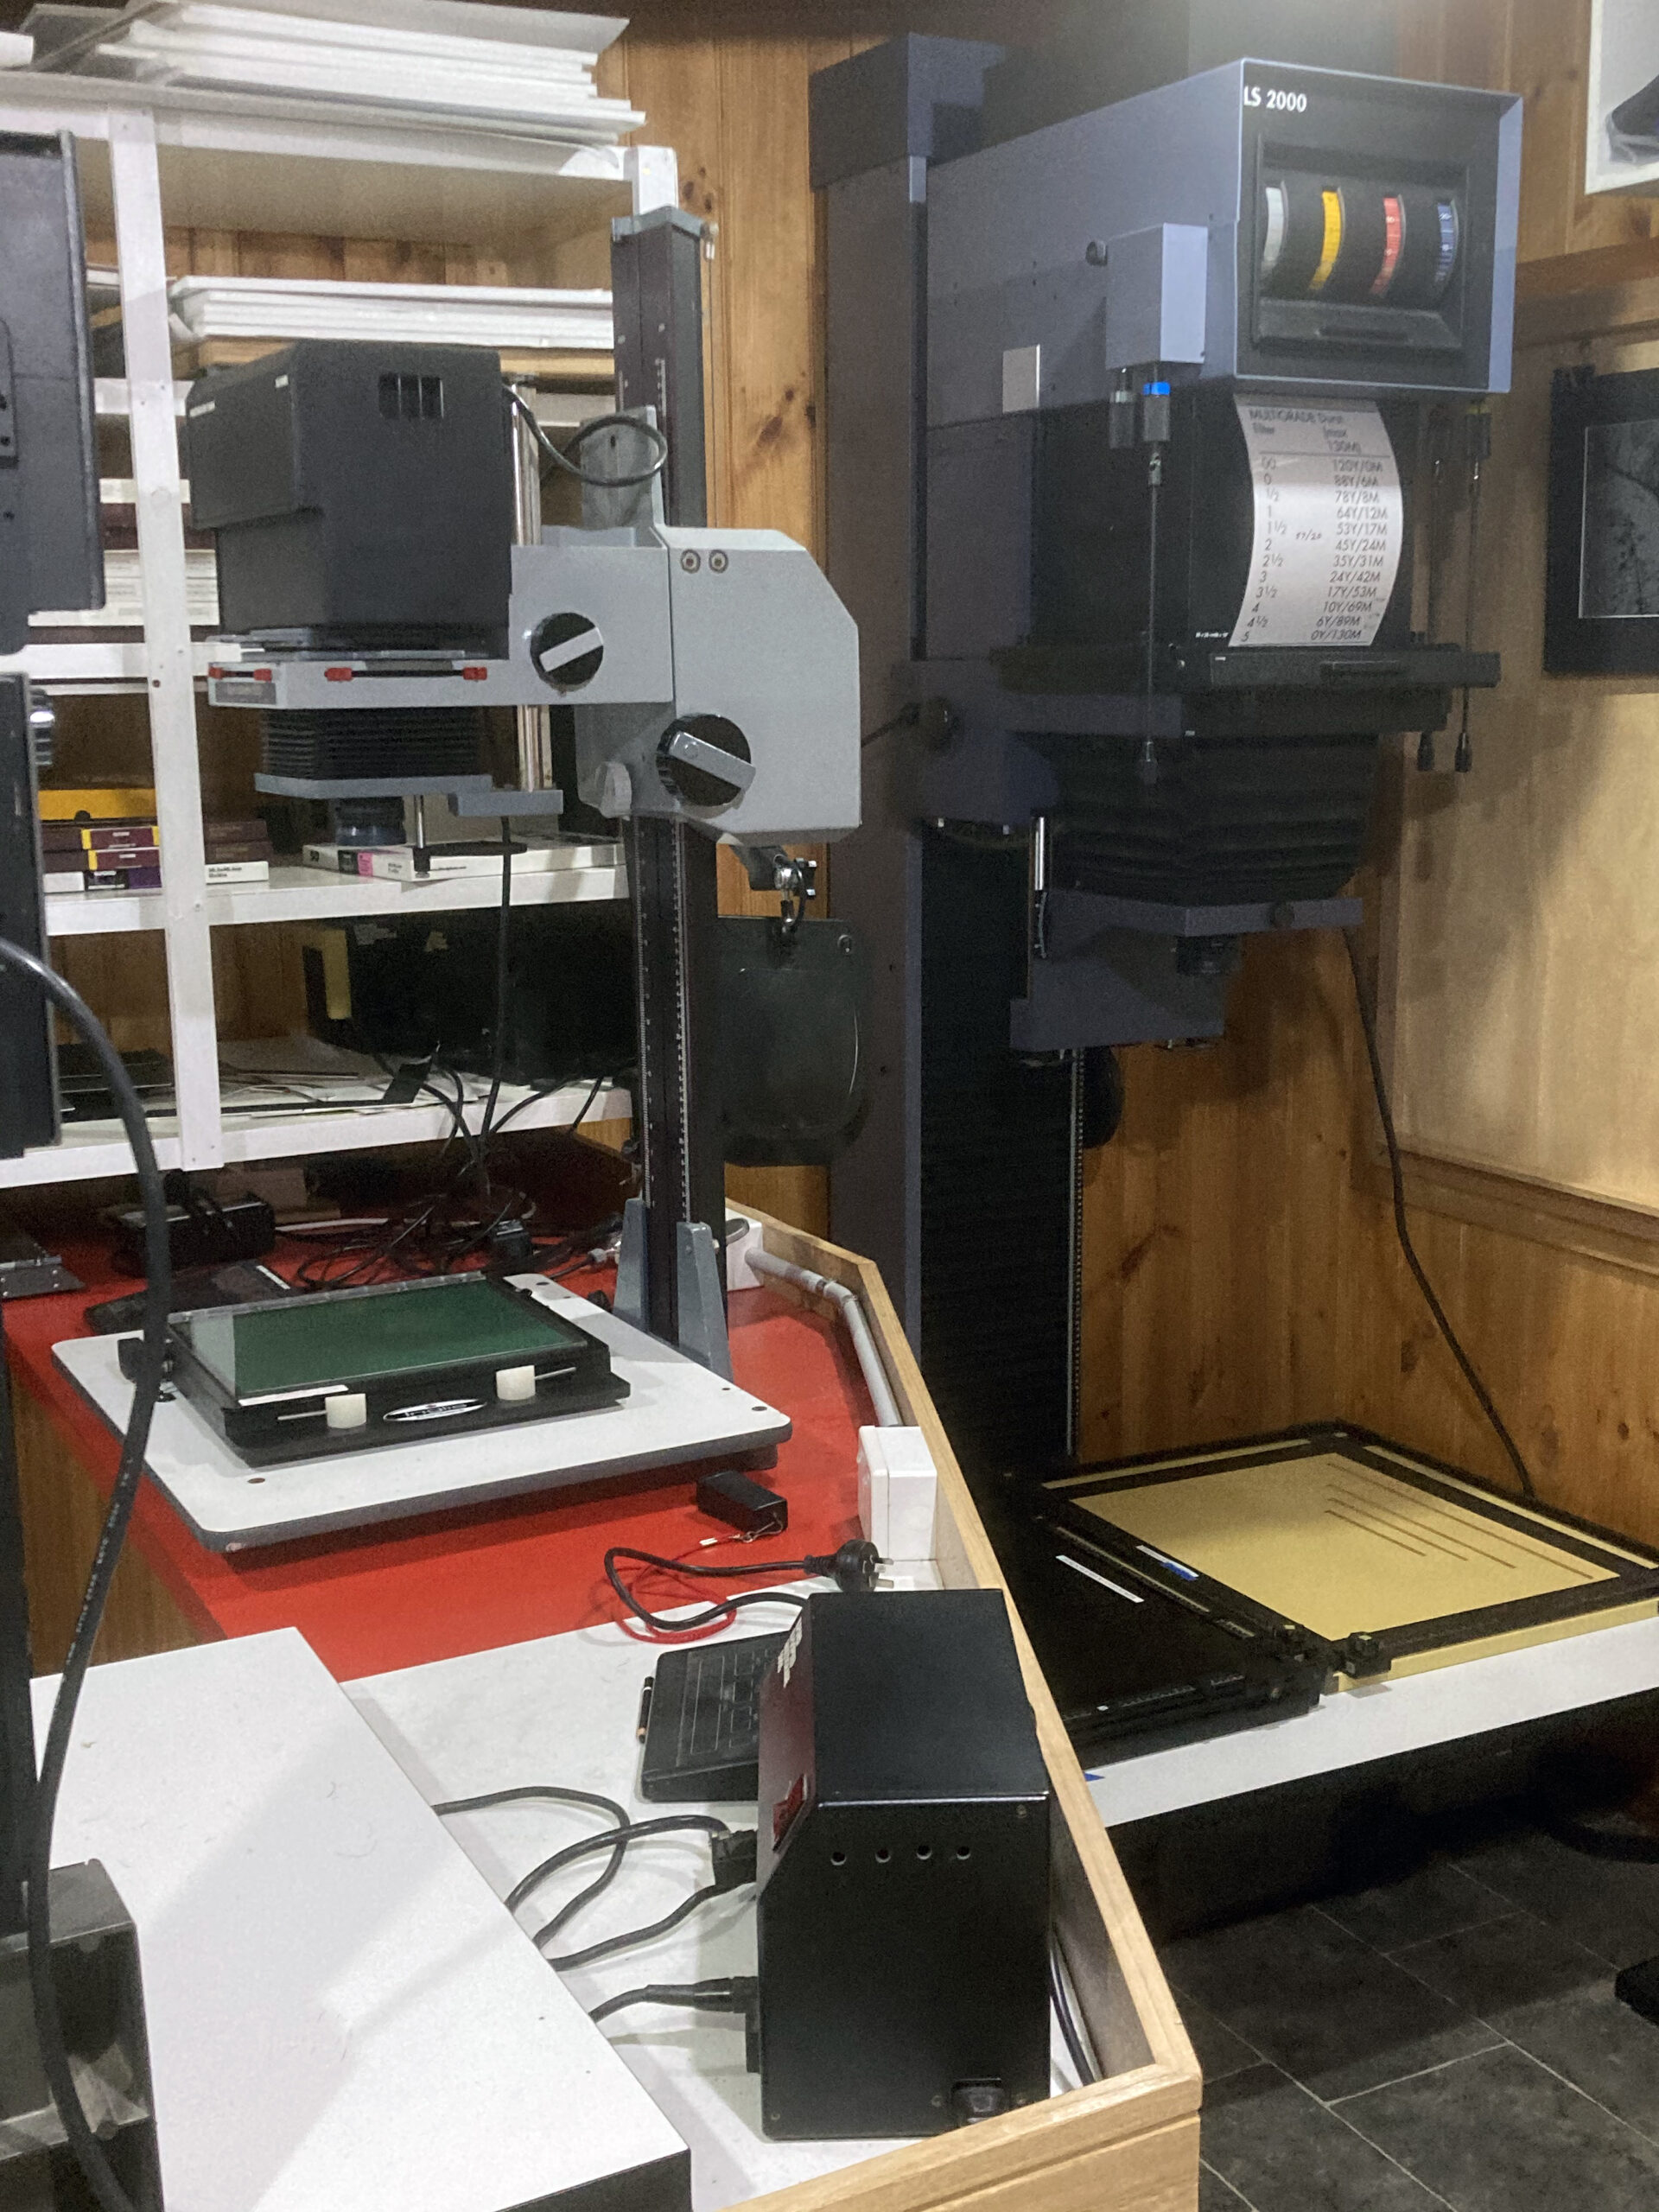
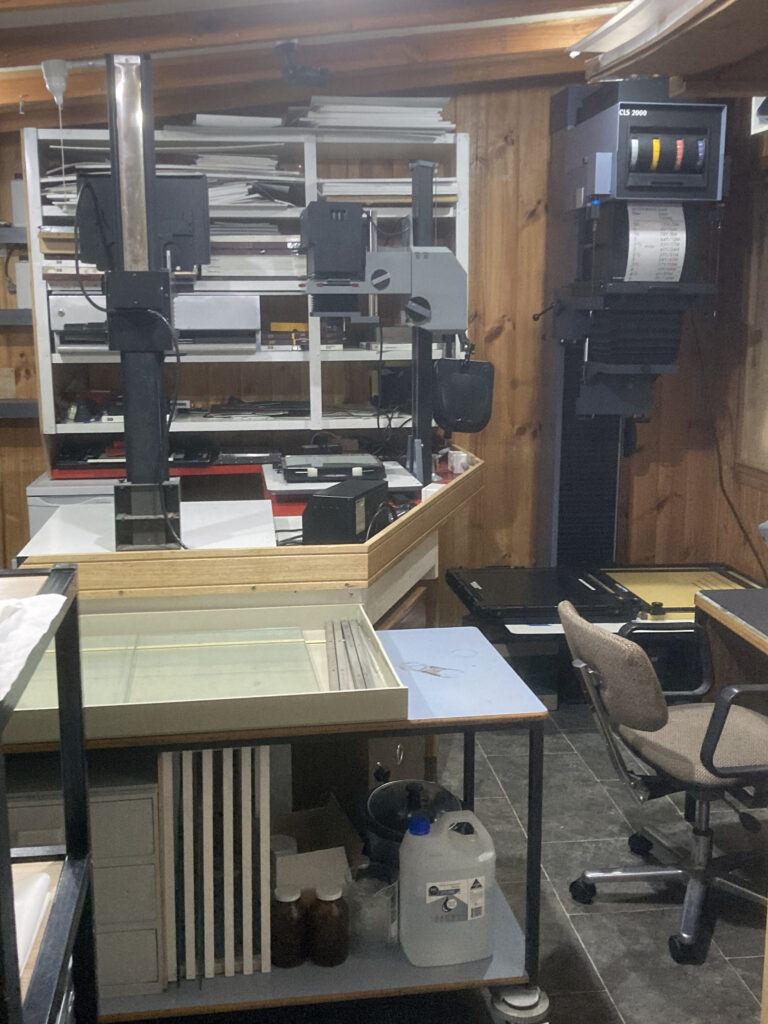
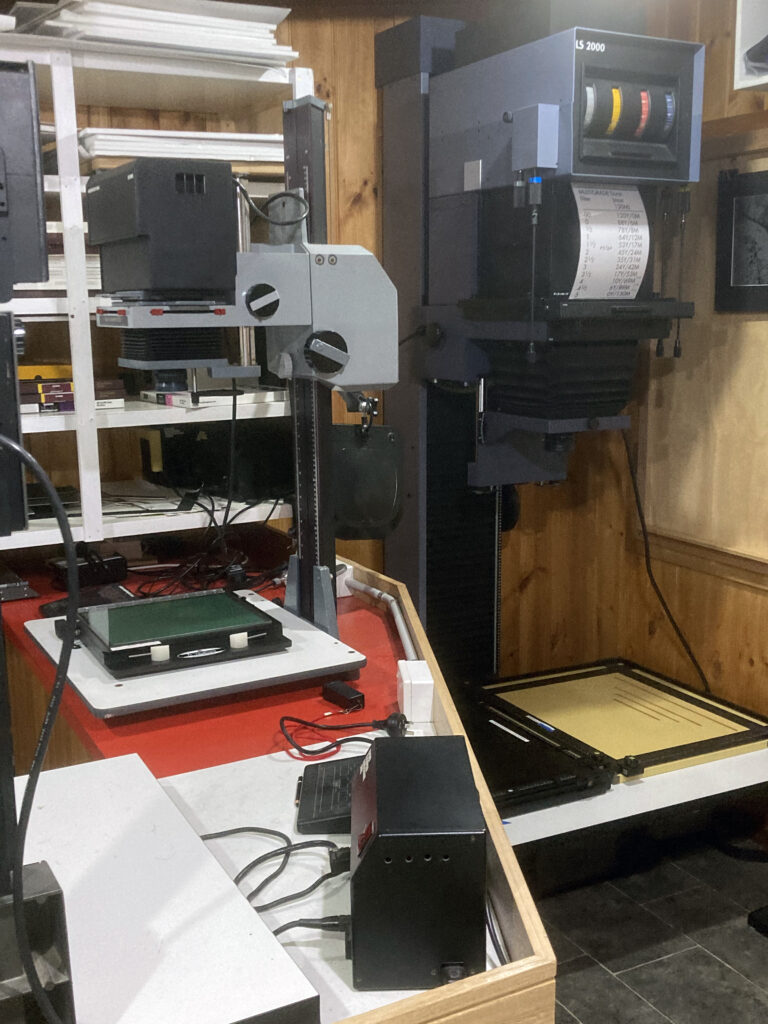
Printing is done on one of two Durst enlargers, both fitted with Ilford Multigrade Heads; rollfilm 6×7 on the smaller model and 4×5 on the larger machine. I normally proof my negatives, then make an 8×10 RC glossy print from those images that hold some appeal. I usually leave these around the house and live with them for a while, before making 12×16 enlargements on fibre paper of those few that continue to appeal. Print drying is done on a homemade rack of sliding flyscreen shelves.
My basic set up has worked quite well over the last four years, but has been put to the test with some recent additional gear. I had in mind to try some 8×10 or 11×14 contact prints on homemade emulsions (as you may have gathered, homemade is often my gallant first option rather than a desperate path of last resort!)
To this end I built a UV box, coating table and fitted castor wheels to the latter and the drying rack. This mobility allows some flexibility to equipment positioning, and did create some useful floor space. Unfortunately, the joy of identifying vinyl underfoot once again was short lived, with the unexpected arrival of a motorised Durst 8×10 enlarger. The previous owner of this 200 kg machine made a compelling case for its relocation, and I have installed it in a quiet corner of the darkroom. I can now print 20×24 from 4x5s with the table at its lowest setting, but will cut an elevated roof section in sometime soon so that the head can be fully raised.
Previous Post: The Bungle Bungles in black & white – Murray White


Murray, great article, thank you for being first in this new series!
Thankyou David, this series is a great idea. I look forward to others sharing information and ideas about their darkrooms too.
Great article, Murray.
I too, built a darkroom which is about 2.5 x1.5 metres…so, similar to your initial set up.
I just asked my wife there if I could expand the area by about 8x.
She said ‘No’.
Oh well.
Regards from Ireland,
George.
George, I sympathise with your situation – it took me 22 years to move out of the ‘smaller’ darkroom, although I must confess it wasn’t until I floated the possibility of sepia toning under the kitchen rangehood that negotiations swung my way quite rapidly….all the best!