View Camera Australia is proud to present online exhibition number…
Darkroom – Charles Millen
In the back of my work studio was a defunct office, a couple of desks and a 1980’s vintage filing cabinet. Under one of the desks was a mat for my aging kelpie Elwood, who slumbered the work hours away whilst I milled about making picture frames. Adjacent to Elwood’s hideout, was the primary darkroom (one of which was originally three darkrooms on the premises). Dilapidated and falling apart is the best way to describe it, I ventured in there to develop my 4×5 slide film and occasional 35mm B&W family photos which I subsequently scanned. The darkroom wasn’t a space that I liked to frequent, all I saw was the need for an overhaul which wasn’t something I wanted to delve into for the first couple of years in the studio. I spent the best part of 12 months cleaning up years of clutter, rubbish, broken things, framing waste, old paraphernalia and detritus from the studio’s past as a film lab. One of the darkrooms was dismantled, along with the defunct and obsolete Durst colour processors, the walls then came down to open the framing space for me. The renovation enabled me to run with 3x work benches, each dedicated to the various core stages of picture framing and to work in a much cleaner and efficient space. I moved the enlargers from the primary darkroom into darkroom two right next to it, put them under plastic sheets and decided I would deal with them another day.
August 2024 came, and I had been contemplating a simple refurbish of the darkroom. My original plan was to start working in the darkroom with my 35mm negatives in retirement as a hobby, although there is of course no guarantee that I’ll make it to retirement age! Another realisation was the fact that to do it properly will take years of trial and error on my part, so I decided to act.
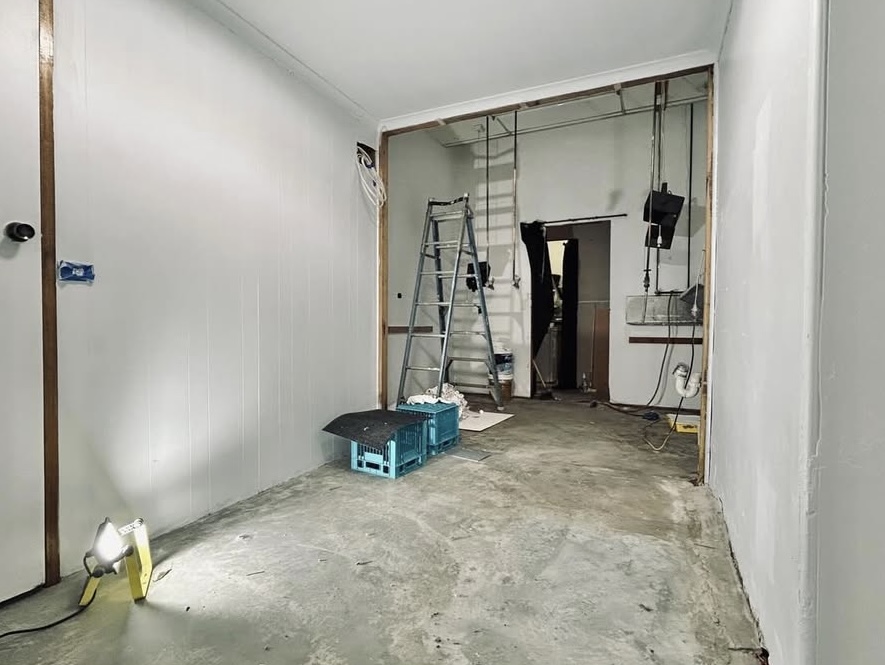
The initial plan was to rip out the old leaky fibreglass developing sink and make a new one, I thought at the time that if I was going to do that then I might as well rip out the stained kitchen sink and associated benches. Out came the hammer for a day of demolition and what was left was a shell of a room with heavily stained linoleum, cobwebs, discarded film leaders and inadequate dingy lighting. I pondered the space and contemplated what I wanted, I had the array of enlargers which I purchased with the business still sitting under the plastic sheets. The fact that they were there was enough to spark an interest in what I might be able to do with them. I went to my computer and worked on planning the layout in Illustrator, soon realising that if I took out the wall between Elwood’s office and the darkroom, I would double the size of it. Out went the dog with a disgruntled look on his face, and in I went the hammer and hacksaw.

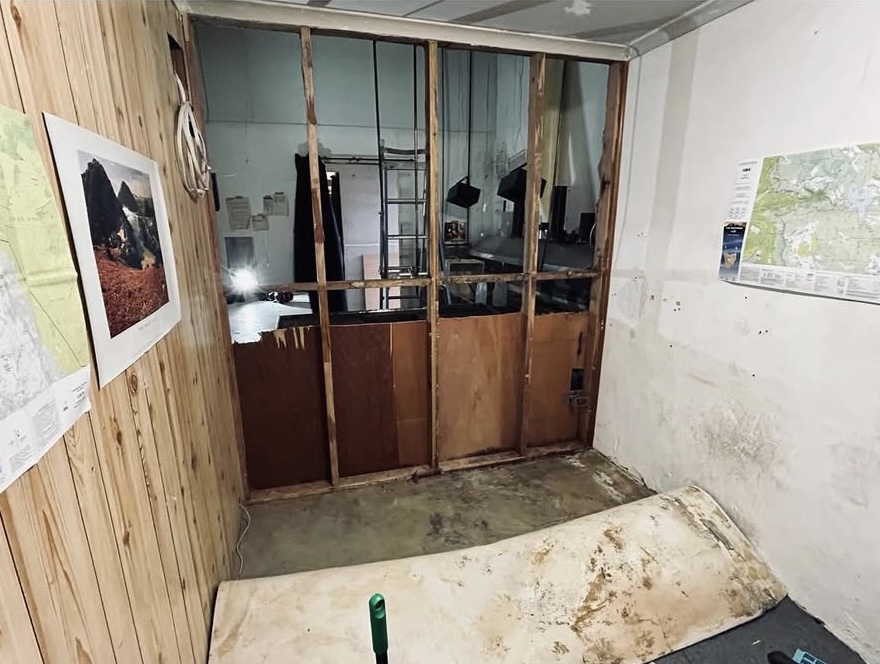
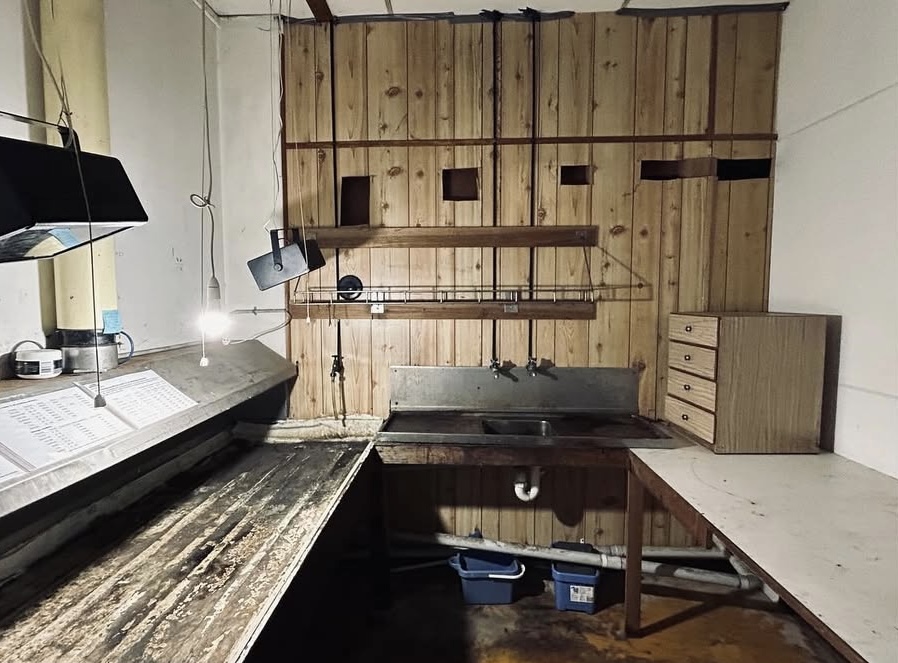
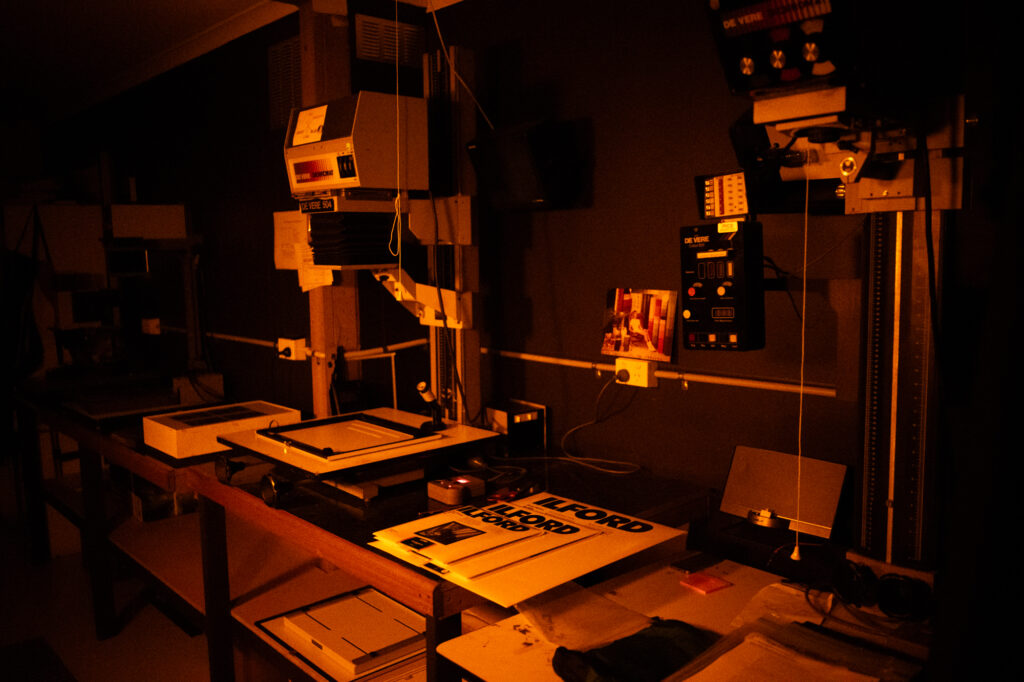
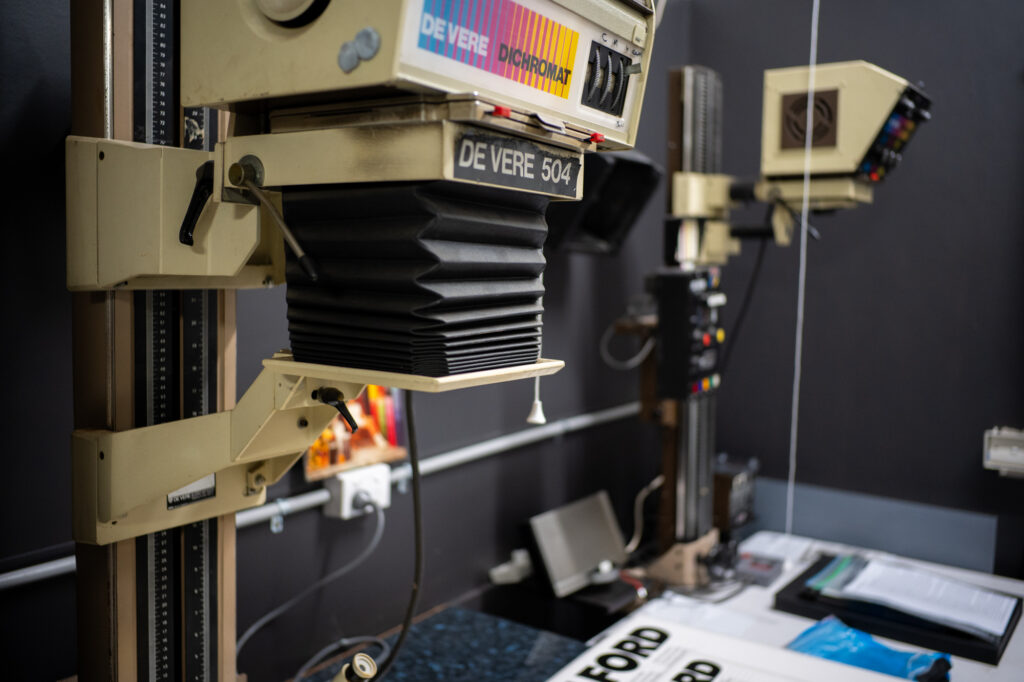
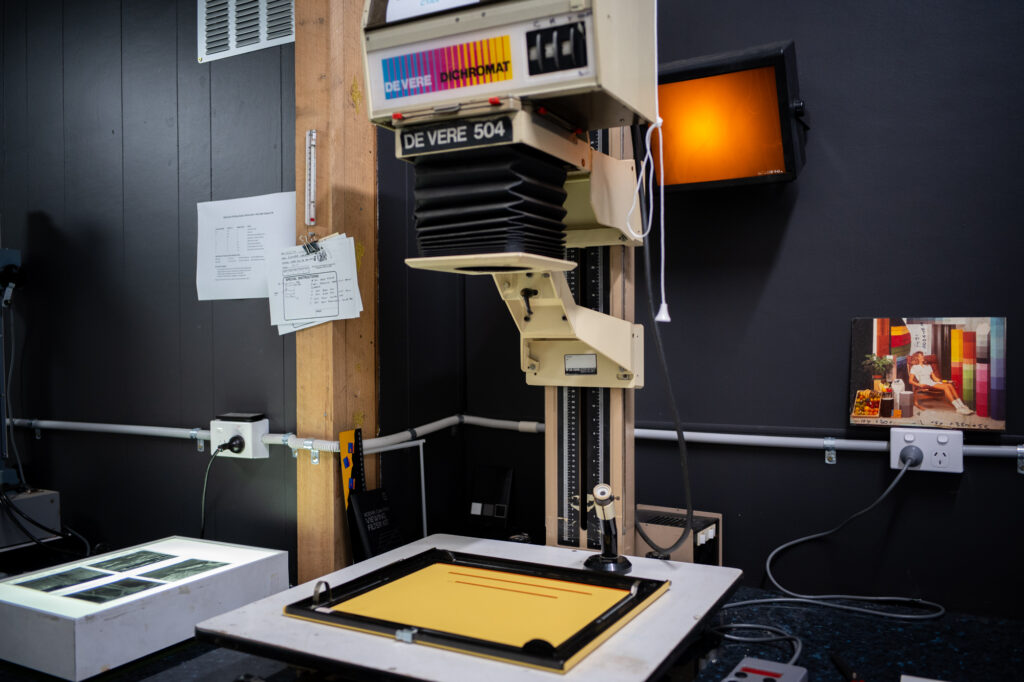
Once the wall was demolished, the musty stained carpet came out and then I chipped away at the lino in the darkroom. I spent a bit of time trying to work out what to do with the floor, eventually settling on grinding the glue residue off and applying an epoxy paint. I patched walls and then painted them, sealing light leaks as I went. I also cut holes in the wall between the darkroom and framing space for offset vents to get fresh airflow across the darkroom to the existing fume hood and extractor fan. I had an electrician sort out the poor lighting by installing led panel lights, a plumber cut off and blanked the pipes to the old sink which ran down the now removed central dividing wall. The next stage was designing a sink, which I was going to make out of timber myself. I abandoned that idea when I was out getting a bag of coffee beans from my local roaster, I saw that they were next to a sheet metal fabricator. I went back to the studio and did some measuring and further designing in Illustrator for a new developing sink, which I took into the fabricators, and they said they could have it done within a couple of weeks at a very reasonable price. I designed it so it can be easily dismantled and moved should the need ever arise. Next was the design for all the new work benches which I was going to make myself on weekends when I could. Peter, the former owner of the business took an interest in what I was doing and said he had kept all his old kitchen bench tops and sink when he did a remodel a few years past. He gave me a couple of days of his time to help me install them in the darkroom, as well as the old sink which was in far better shape than the old rusty, chemically stained sink. By the time this was all done it was September, and I now had a much larger, cleaner and functional space to work with. I moved the main enlargers into the darkroom that I figured I would utilise (Devere 504, Fujimoto G70, Durst M601 and a Devere 203). I restitched the hook tape for the black-out curtains on the doors, which was probably the most tedious and time-consuming process of the whole refurbishment.

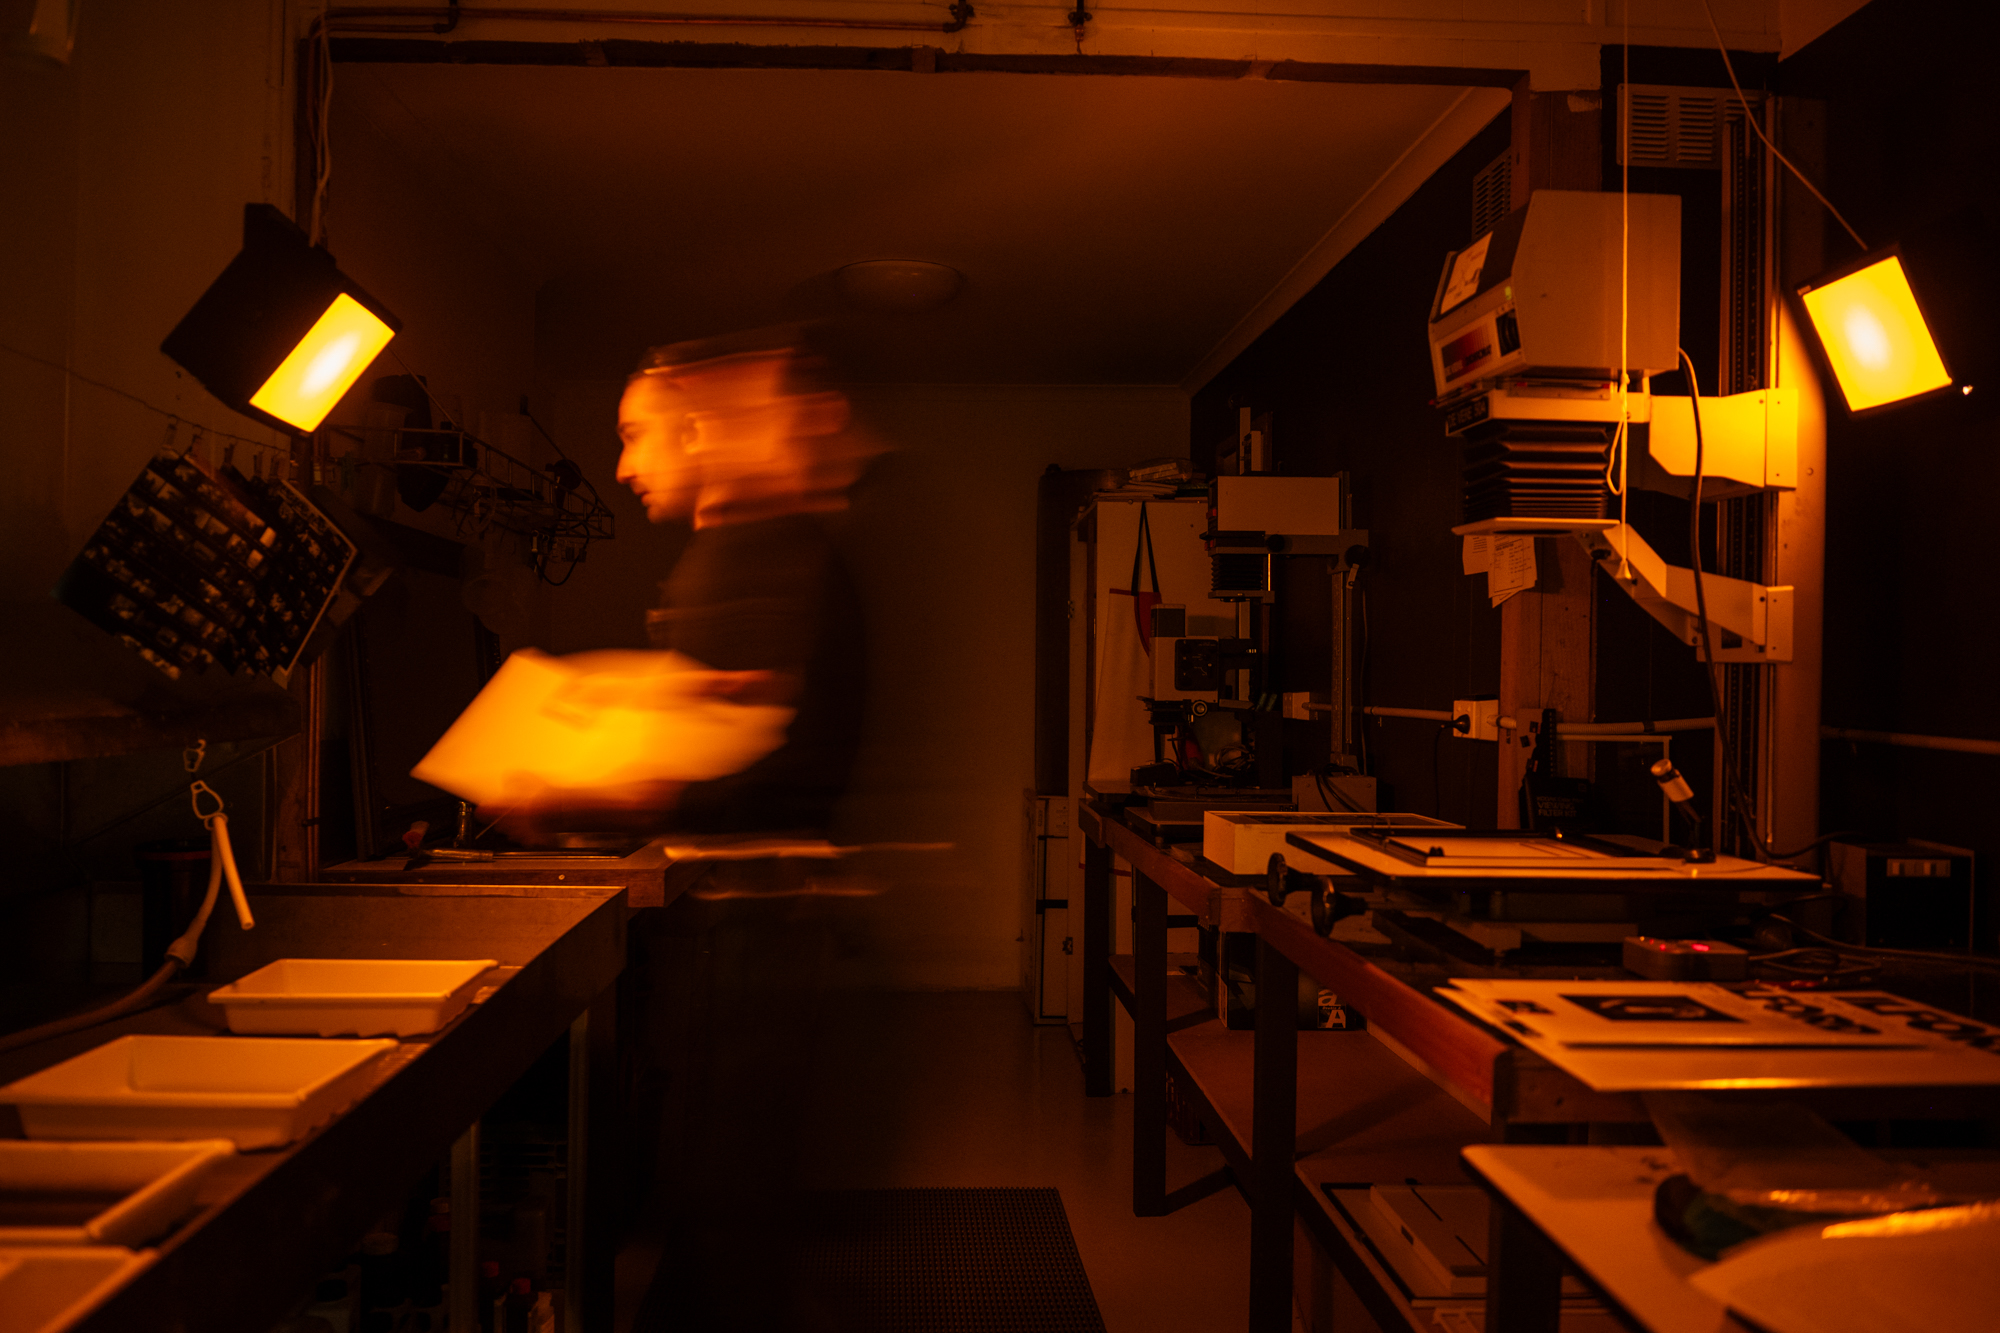
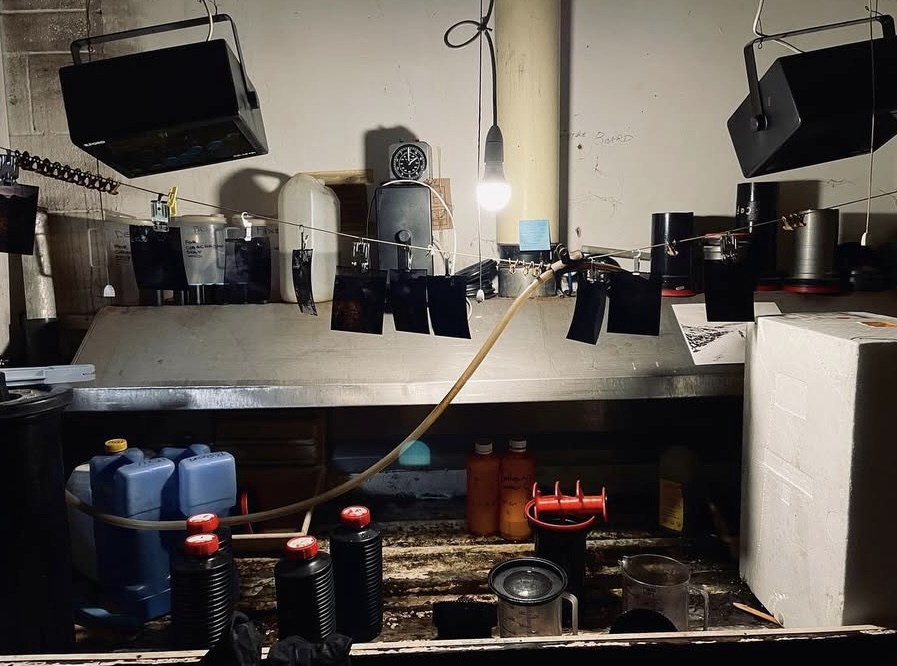
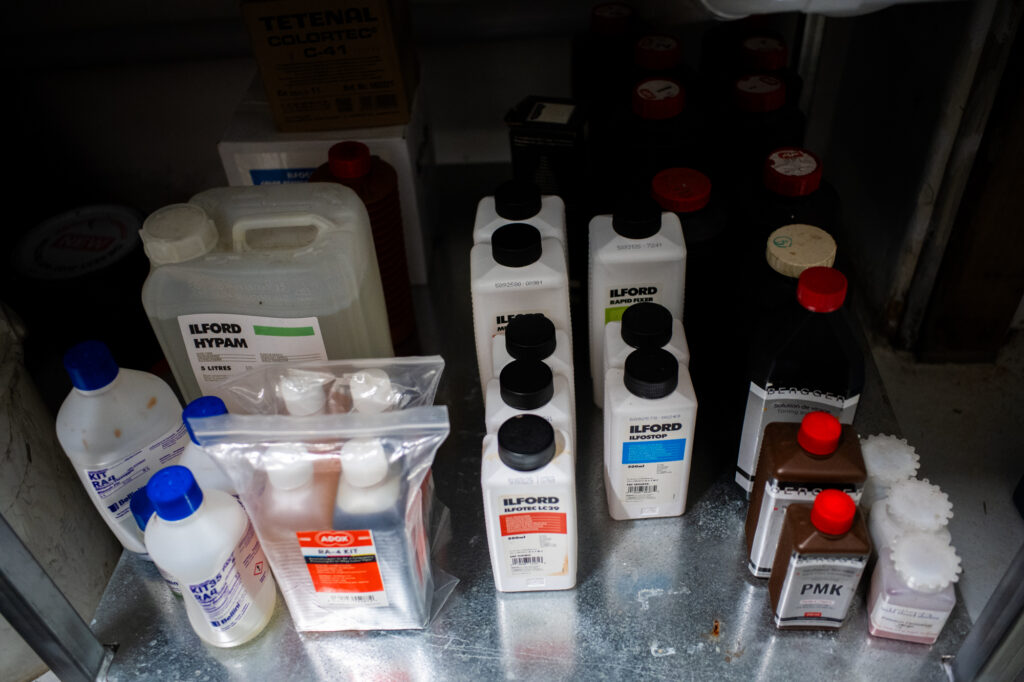
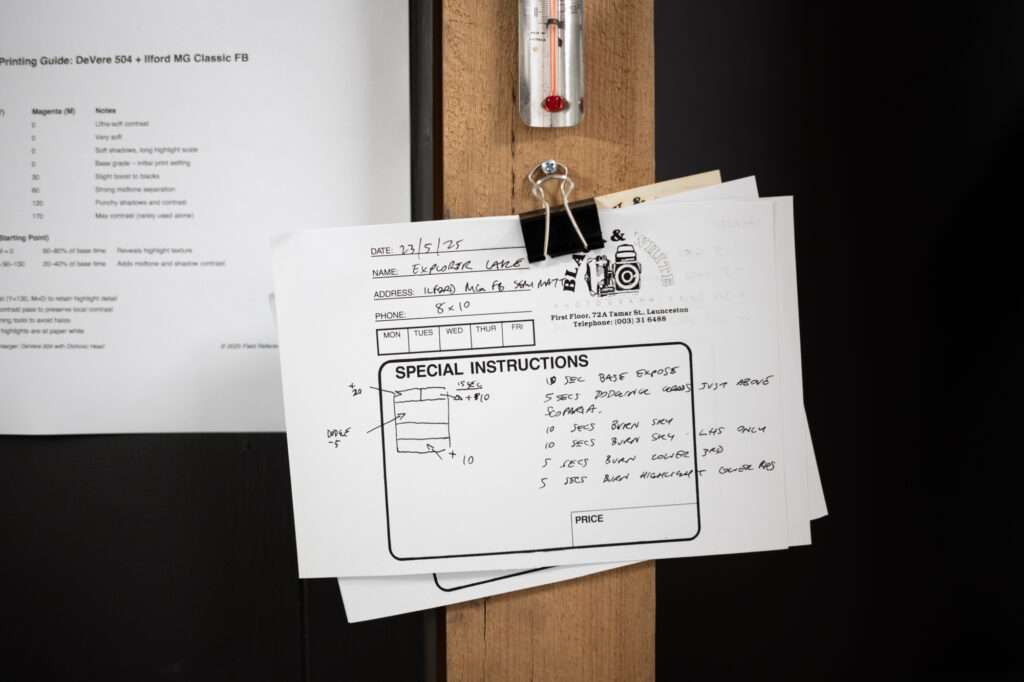
Upon completion I started working with the Devere 504, which is the only enlarger I have worked with so far. I have done some RA4 colour printing as well as some basic black and white prints, mainly starting to do contact sheets for the piles of 35mm negative sleeves I have built up over the last decade. I am only getting started with the black and white process, trying to learn how to apply the zone system in the field and then develop for negative contrast contraction or expansion in the darkroom. I look forward to spending more time printing, trying various papers and hopefully settling on one or two once I have some reasonable negatives to print with. There is a little more painting to do, I would like to get a new film drying cabinet as the doors fell off the old one when I moved it. The map drawers for paper and finished prints might go into darkroom two, alongside the film fridge and big drum processor for mural prints. Darkroom two is a bit smaller, it has a copy stand, a couple of spare enlargers, kettle, microwave and a sandwich maker in it for now. It will be another stage of the refurbishment which I will start when I feel the need.
I recently joined a new (yet unnamed) formal group of local artists, and we will be developing a group exhibition for show in 2026. I have been starting to develop some ideas and outline what my work will entail for that show over the last few weeks; black and white prints will be the medium for this body of work. It’s great that I now have a very usable and functional space to help me. The prospect of working in the darkroom learning to print is exciting, for both colour and black and white. I am hoping both mediums can coexist, perhaps each can inform the other and make my work stronger. If I can gain a respectable command of the process, then I can see the darkroom becoming as enjoyable to me as being out in the field making photographs.
Other articles in the darkroom series can be seen here.
Previous Post: Zoom presentation with Yasu Matsumoto from Japan


Very well done. A large and usable workspace as well. I’m sure that you will spend many wonderful hours here
Cheers Tom, I look forward to regular sessions in there!
Charles, thank you for being part of the darkroom series. It looks like a great space. How are you going with the Zone System? A lot of books about it were written before multigrade paper was around so there isn’t as much need to make negatives exclusively for grade 1, 2 or 3 paper. Contemporary Zone System is as they say, the same, but different.
Thanks David, glad to contribute! As for the zone system, I am following what Bruce Barnbaum has to say about it in ‘The Art of Photography’. I dusted off my copy which I bought over a decade ago, of which I glanced over the B&W info at the time. I have plenty to work through to get my head around. For colour I generally spot my shadow & highlight with a Sekonic meter and average the reading. For black & white (my initial understanding) is to spot my shadow where I want defined detail, place that on Zone IV and then check my highlight & spread over the zones. If I have too many stops of spread, I reduce development and if the spread is low I extend development (if the scene or my interpretation warrants it of course).
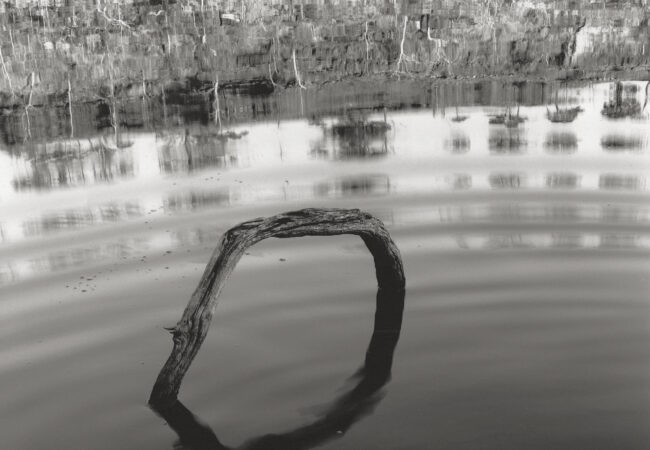
A recent example of trial and definite error was photographing a waterfall, I metered some froth that had accumulated in an eddy for my highlight as I felt I couldn’t trust the meter on the flowing waterfall for the highlight, and I found my zone IV shadow on a mossy rock. I went for normal development. The result is the waterfall is very dense on the negative, I doubt I will be able to print it. In hindsight I feel I should have reduced development, and recognised that the large volume of water would overexpose over the course of a 15 second exposure…